
Blog
How to Customize Your Tumbler with Vinyl: A Beginner’s DIY Guide
The Ultimate Guide: Essential Tools & Materials for Vinyl Tumblers
Excited to customize your tumbler? To truly master how to put vinyl on a tumbler, gathering the right tools and materials is step one. This ensures your DIY project is both smooth and fun!
First, here are the key tools for flawless vinyl decals:
- Cutting Machine: A Cricut or Silhouette is ideal for custom designs. Pre-made decals work great too!
- Weeding Tool: Removes tiny excess vinyl bits precisely.
- Scraper or Squeegee: Smooths vinyl and applies transfer tape bubble-free.
- Measuring Tape/Ruler: Crucial for accurate placement on various tumbler types.
- Rubbing Alcohol & Lint-Free Cloth: Essential surface prep for optimal vinyl adhesion.
Now, for the key materials for your amazing Cricut projects:
- Permanent Vinyl: A must for tumblers! Choose durable, waterproof Oracal 651 for lasting designs. For more details on how adhesive materials bond, see NASA’s explanation of adhesives.
- Transfer Tape: Lifts your cut design for smooth application. Medium tack is usually best.
- Tumblers: Select smooth-surfaced tumblers (stainless steel, acrylic) for easiest application. This is key to mastering how to put vinyl on a tumbler.
Mastering the Art: How to Put Vinyl on a Tumbler Flawlessly in 7 Simple Steps
Okay, supplies ready! Now, let’s learn how to put vinyl on a tumbler perfectly. Creating awesome vinyl decals is truly simple. Follow these seven steps for a stunning, custom cup!
- Clean Your Tumbler: Wipe your tumbler with rubbing alcohol and a lint-free cloth. Let it dry. This ensures your permanent vinyl adheres beautifully.
- Cut Your Design: Use your cutting machine (think Cricut projects!) to cut your design. Size it for your specific tumbler type. No mirroring needed for adhesive vinyl!
- Weed It Out: Carefully remove all excess vinyl around your design with your weeding tool. Take time with intricate details.
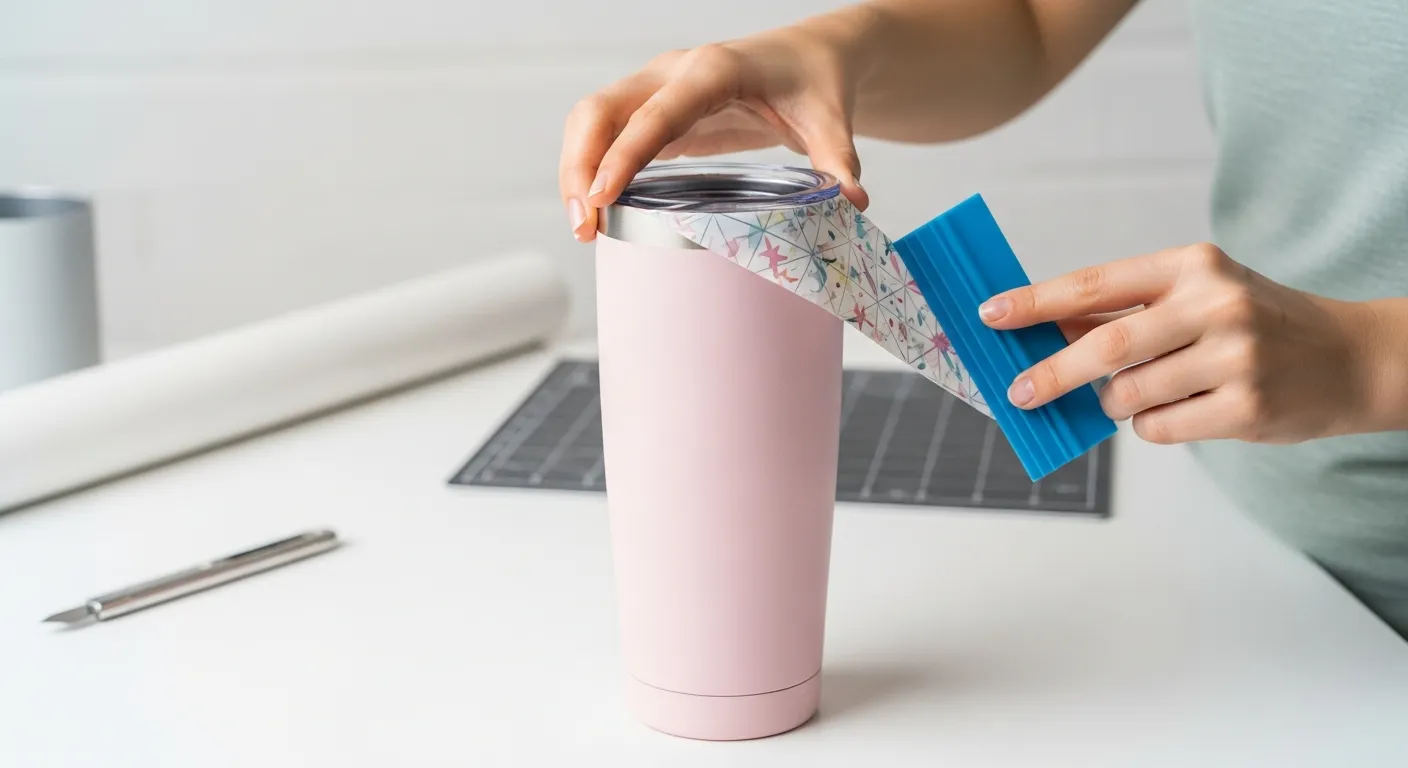
- Apply Transfer Tape: Cut transfer tape slightly larger than your design. Place it over the weeded vinyl, then firmly smooth with your scraper.
- Lift the Design: Slowly peel the transfer tape, lifting your design off its backing. If vinyl stays, press and re-scrape.
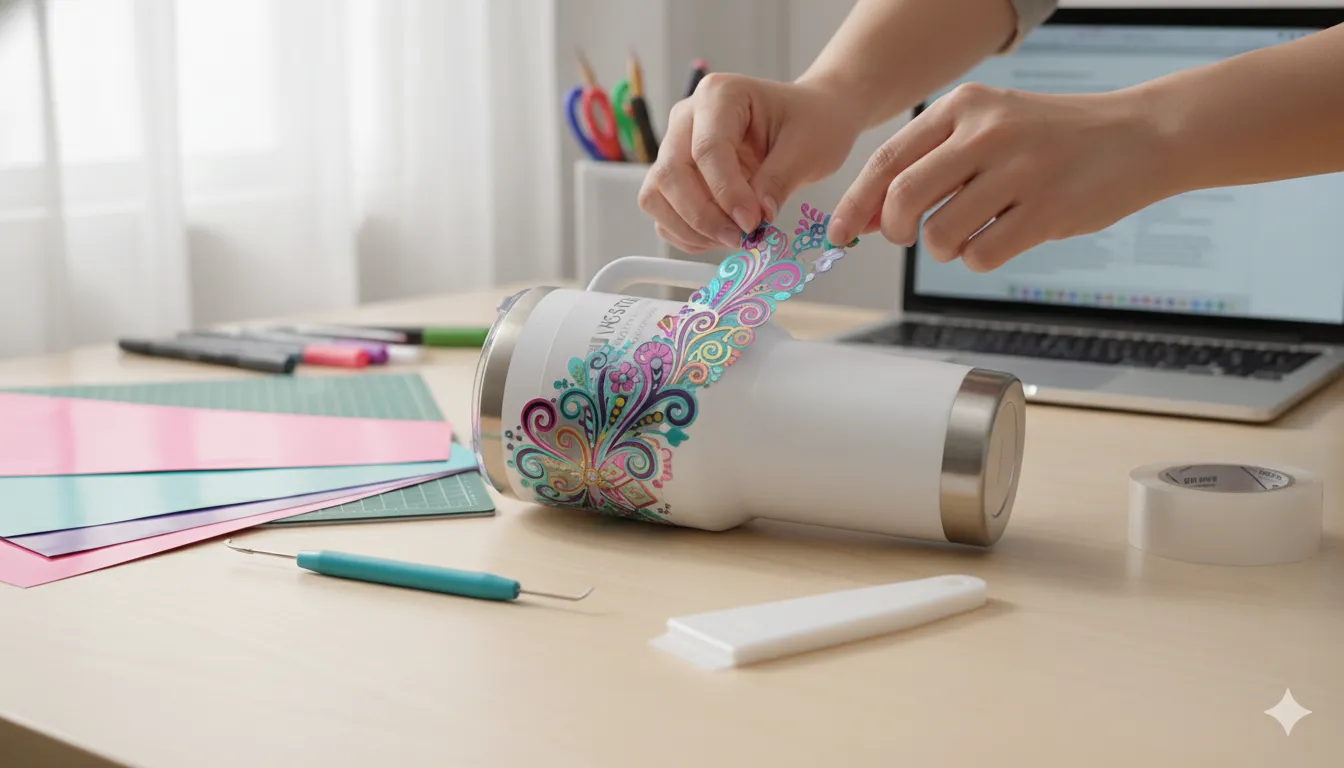
- Position on Tumbler: Carefully align your design. This is key for how to put vinyl on a tumbler successfully! Starting center, smooth outwards with your scraper, pushing out air bubbles.
- Remove Transfer Tape: Gently peel the transfer tape back at a sharp angle. If vinyl lifts, press down, rub, and try again. Your custom tumbler is ready!
Beyond Basics: Expert Tips for Perfect Application & Layering Designs
You’ve nailed the basics of customizing your tumblers. Fantastic! Now, let’s explore pro tips to make your Cricut projects truly shine. These ensure your vinyl decals stick perfectly, even on tricky tumbler types.
For curved surfaces, the “hinge method” is a game-changer. Tape across the design’s center. Peel and cut one backing half, then smooth it down carefully.
Next, remove the tape, peel the remaining backing, and apply the second half. This offers superior control, preventing bubbles when you put vinyl on a tumbler.
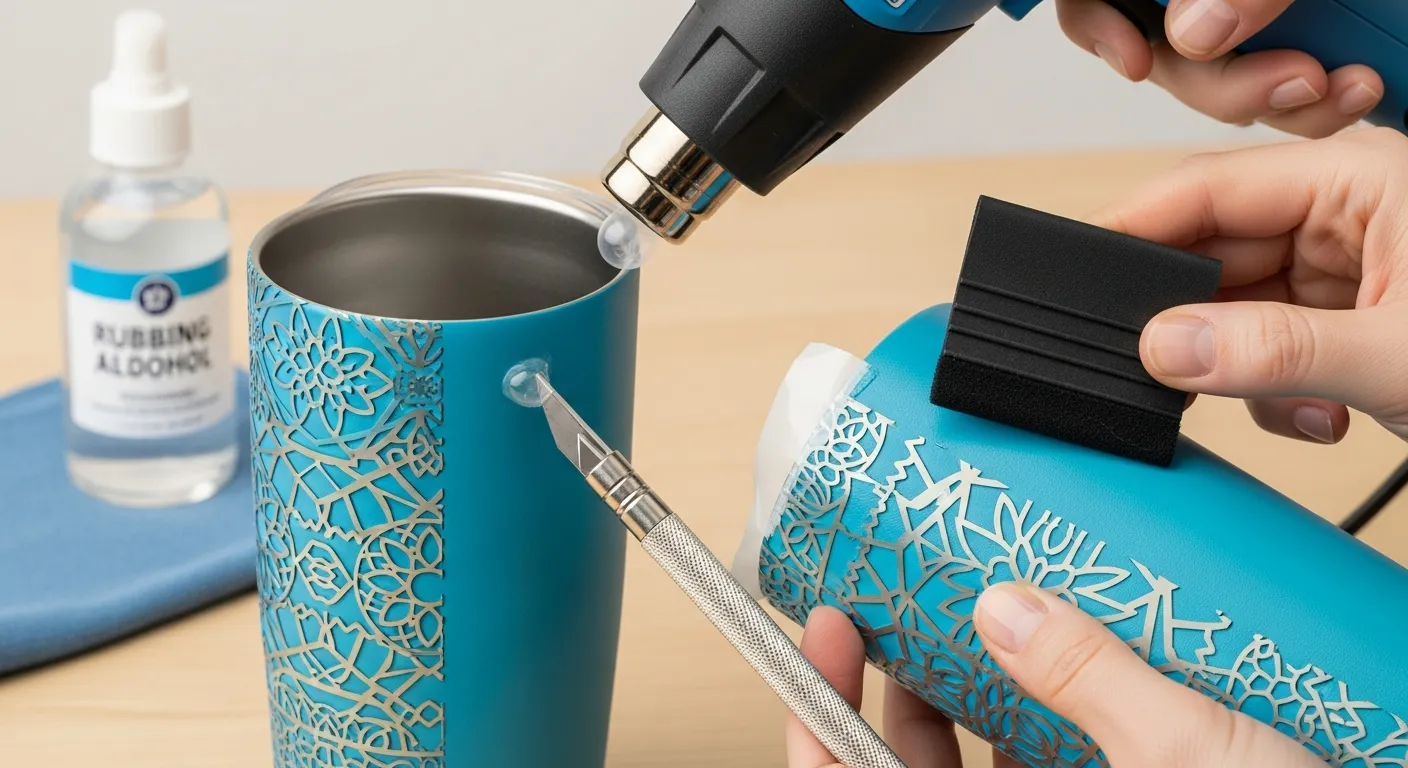
A hairdryer or heat gun (low setting) also works wonders. Warmth makes permanent vinyl pliable. Gently smooth it around curves for a seamless finish, mastering how to put vinyl on a tumbler on difficult shapes.
Layering Designs Like a Pro
Ready for multi-color designs? Layering is rewarding. Start with your bottom layer, applying it with transfer tape as usual.
For subsequent layers, cut and align precisely. Use software registration marks. Press firmly after each layer, then peel the transfer tape.
Patience is crucial. Don’t rush! Small adjustments make a huge difference in the final custom tumbler. Practice perfects advanced how to put vinyl on a tumbler projects.
Troubleshooting Tactics: Fixing Common Vinyl Application Issues with Ease
Even the pros hit a snag sometimes! Don’t worry if your Cricut projects don’t go perfectly on the first try. Learning how to put vinyl on a tumbler often involves a bit of trial and error.
Here are some common issues and quick fixes to get your beautiful vinyl decals looking flawless.
Pesky Bubbles Under Your Vinyl?
Bubbles are the most common frustration. If you spot one, grab your weeding tool or a sharp craft knife. Carefully poke a tiny hole in the bubble’s edge.
Then, use your squeegee to gently push the air out towards the hole. This trick works wonders with permanent vinyl.
Vinyl Not Sticking Properly?
If your vinyl isn’t adhering, first, check your tumbler for cleanliness. Any dust, grease, or fingerprints can prevent proper adhesion. Give it another wipe with rubbing alcohol.
Also, ensure you’re applying enough pressure with your squeegee. Sometimes, it just needs a little more elbow grease. Worn-out transfer tape can also be a culprit.
Edges Peeling Up?
This often happens on curved tumbler types or when the vinyl isn’t fully cured. Press down firmly on the peeling edge with your finger or squeegee.
For persistent issues, a small dab of strong craft glue (like E6000) applied *under* the edge can help. Let it dry completely before handling. Don’t let these minor setbacks deter your journey to master how to put vinyl on a tumbler.
Remember, practice makes perfect. Keep at it!
Longevity Secrets: Care and Maintenance for Your Personalized Vinyl Tumblers
You’ve put in all that effort learning how to put vinyl on a tumbler, creating a unique masterpiece!
Now, the big question is: how do you keep your awesome new vinyl decals looking fresh and fabulous for as long as possible? It’s simpler than you think, but there are a few golden rules to follow.
Give It Time to Cure
This is probably the most crucial step that many beginners overlook. After applying your permanent vinyl, resist the urge to wash your tumbler immediately.
Vinyl needs time to fully adhere and bond with the surface. Aim for at least 48 to 72 hours (2-3 days) before its first wash. Some even recommend a full week!
Hand Wash Only, Please!
This is non-negotiable for vinyl longevity. Dishwashers, especially with their high heat and harsh detergents, are the archenemy of your beautiful custom tumbler types.
Always hand wash your personalized tumblers. Use a soft sponge and mild soap.
Avoid Soaking and Scrubbing
While hand washing, try not to let your tumbler soak in water for extended periods. This can weaken the adhesive over time.
Also, steer clear of abrasive scrubbers or harsh chemicals. They can scratch or lift your intricate designs, ruining your hard work on those Cricut projects.
Heat is Not Your Friend
Extreme temperatures can cause vinyl to bubble, peel, or warp. Never put your vinyl-decorated tumbler in the microwave.
Additionally, avoid leaving it in a hot car for long periods. The heat can be detrimental to the vinyl’s adhesion.
Gentle Drying
After washing, gently pat your tumbler dry with a soft cloth. Avoid rubbing vigorously over the vinyl design.
Following these simple care tips will ensure your customized tumbler, a testament to your skill in how to put vinyl on a tumbler, stays looking fantastic for years to come!
Frequently Asked Questions
How do I make sure my vinyl design lasts on my tumbler, especially when washing?
For the longest life, handwashing is your best friend! Avoid dishwashers, as the high heat and harsh detergents can be tough on the adhesive. When handwashing, use a soft sponge and mild soap, and try not to scrub directly over the vinyl edges. Gentle care goes a long way in keeping your custom tumbler looking fabulous!
Do I need to seal my vinyl design after applying it to the tumbler?
While not strictly necessary, sealing can definitely boost your vinyl’s durability, especially if it’s a frequently used item. For beginners, a simple option is a water-based, non-toxic sealant like Mod Podge Dishwasher Safe (though we still recommend handwashing!). Some crafters opt for epoxy resin for a super durable, glassy finish, but that’s a more advanced technique. Always ensure any sealant you use is safe for items that may come into contact with food or drink.
What if my vinyl isn’t sticking properly to my tumbler, or it starts to peel shortly after applying?
Don’t panic, it happens! The most common culprits are insufficient surface prep (make sure that tumbler is squeaky clean and dry!) or not applying enough pressure during transfer. Ensure you’re really burnishing the vinyl onto the tumbler with your squeegee. Also, some permanent adhesive vinyl takes 24-48 hours to fully cure and adhere, so gentle handling during that initial period is key.
Can I use any type of vinyl for my tumbler project?
Not quite! For tumblers and other hard, smooth surfaces, you’ll want to use permanent adhesive vinyl (sometimes called outdoor or sign vinyl). This type is designed to stick long-term and withstand washing. Avoid “removable” or “indoor” vinyl, as it won’t last, and definitely don’t use Heat Transfer Vinyl (HTV) – that’s for fabric projects! Always double-check the vinyl packaging to ensure you have the right type for your tumbler.