
Blog
Beyond Decals: 7 Creative Ways to Personalize Your Tumbler with Paint
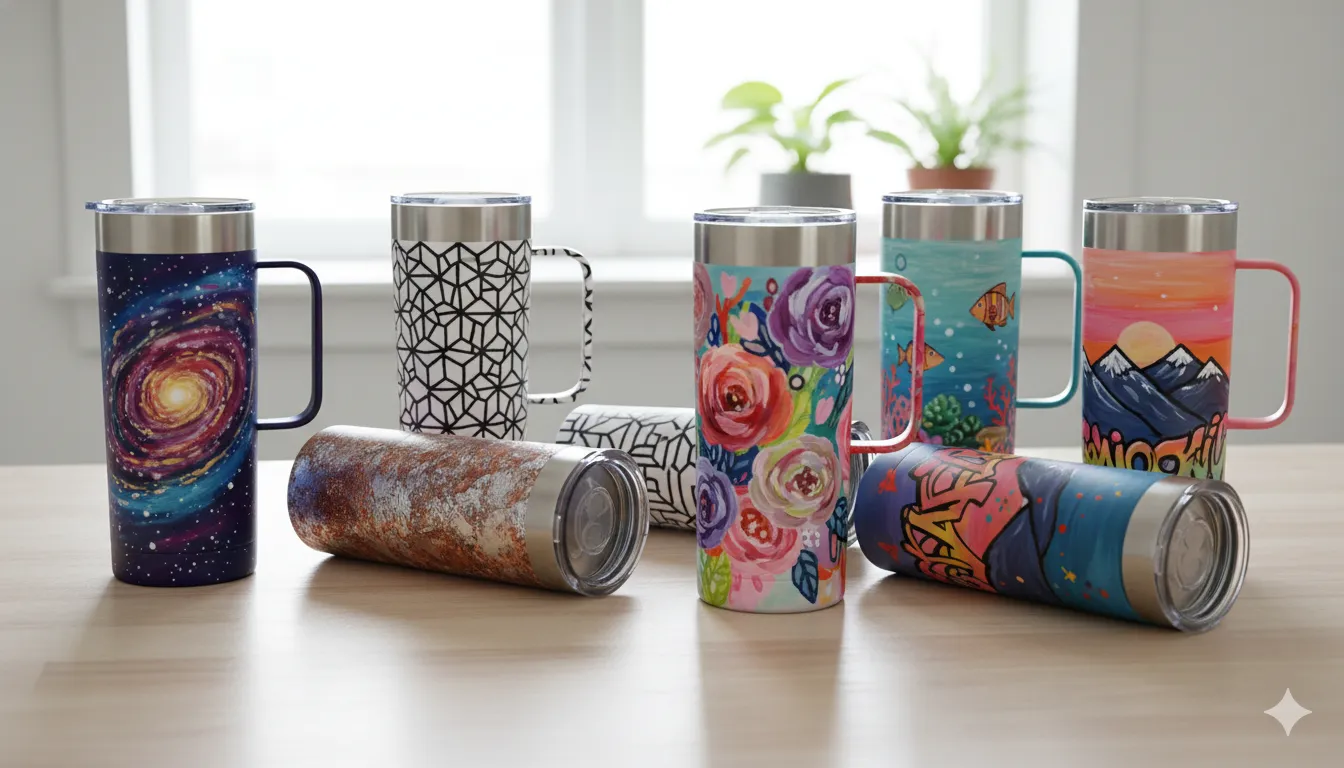
The Ultimate Guide: 7 Simple Steps to Perfectly Paint Your Tumbler
Ready to learn how to paint a tumbler and add your unique flair? Awesome! This guide breaks down the entire process into 7 simple steps. You’ll be customizing your tumbler like a pro, turning drinkware into a personalized masterpiece!
- Gather Your Essential Supplies: Collect everything needed. Choose the best paint for tumblers for lasting results.
- Master the Prep Work: Critical! Clean and sand your tumbler to prepare tumbler for painting properly. Adhesion matters.
- Apply a Primer Layer: Primer creates a perfect base, helping paint stick and preventing chipping.
- Unleash Your Creativity with Paint: Fun time! Begin your DIY tumbler paint project. This is how to paint a tumbler your way.
- Allow Adequate Curing Time: Be patient. Let each paint layer dry completely.
- The Secret to Durability: Learning how to properly seal your painted tumbler is vital. Protect your artwork!
- Final Cure and Gentle Care: After sealing, let it fully cure for days. Follow care instructions for lasting beauty.
Gather Your Essential Supplies: Everything You’ll Need for Tumbler Painting Success
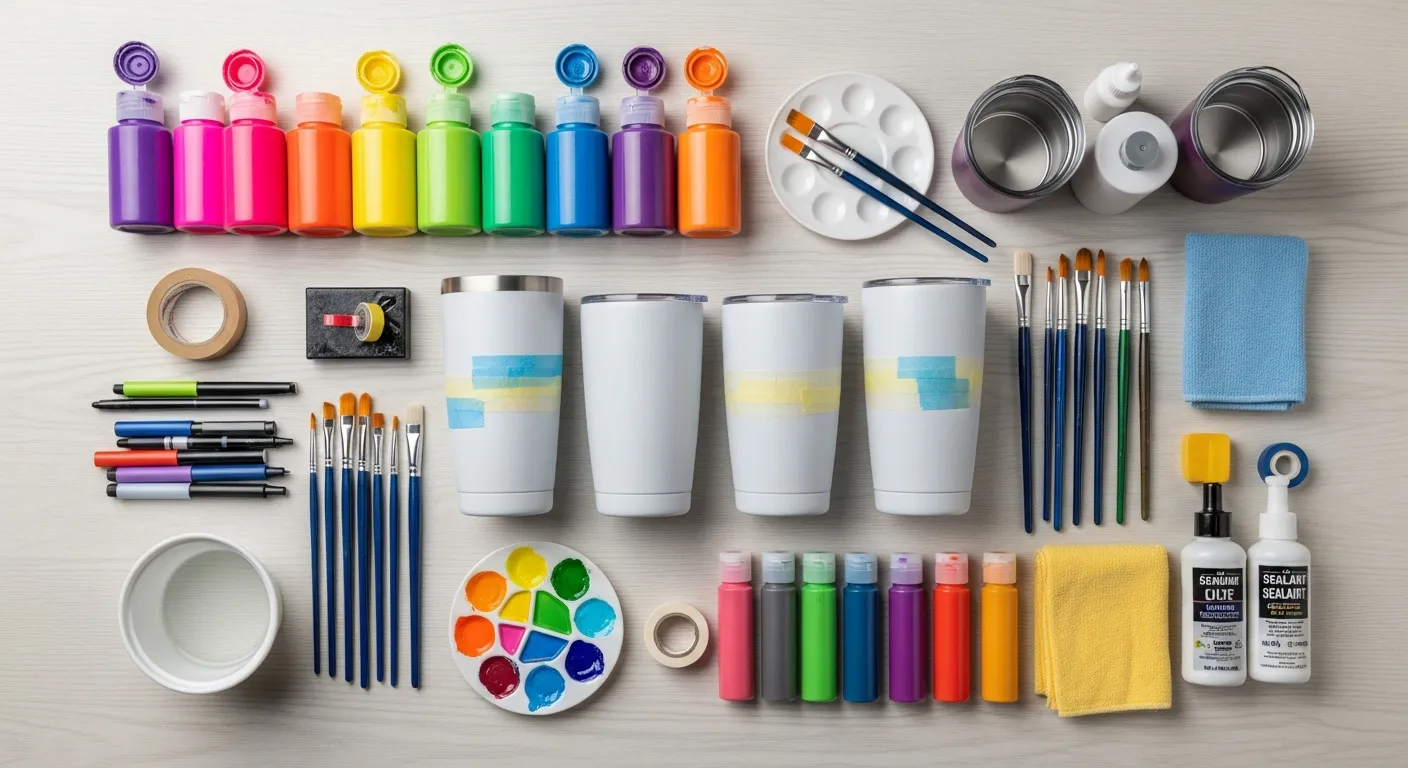
The journey to personalize your tumbler is exciting! To ensure a smooth experience learning how to paint a tumbler, gathering your supplies upfront is key. This prepares you perfectly for your DIY tumbler paint project.
Here’s your quick checklist to help you customize tumblers with ease:
- Your Tumbler: Your chosen canvas!
- Cleaner: Isopropyl alcohol is perfect to prepare tumbler for painting by removing oils.
- Fine-grit Sandpaper: Essential for a surface paint can adhere to.
- Primer: Creates a vital base layer for durability.
- Paint: Select the best paint for tumblers, such as acrylics or spray paints.
- Application Tools: Brushes, sponges, or spray nozzles.
- Sealer/Top Coat: Crucial to seal painted tumbler designs and protect them.
- Masking Tape & Stencils: For clean lines and patterns.
- Protective Gear: Gloves and a mask for safety.
With these essential items, you’re fully equipped for a successful session on how to paint a tumbler and create your custom design!
Mastering the Prep Work: Critical Steps Before You Start Painting Your Tumbler
Okay, you’ve got your supplies ready! Before we dive into the fun part, let’s talk about the unsung hero of any great custom painting project: prep work.
Seriously, don’t skip these steps! Good preparation is the secret sauce for a durable, professional-looking finish when you’re learning how to paint a tumbler.
Clean Your Canvas Thoroughly
- Grab your isopropyl alcohol and a clean cloth.
- Wipe down your entire tumbler, removing oils, dirt, or residues. This is vital to truly prepare tumbler for painting effectively.
Give it Some Grip (Light Sanding)
- Gently scuff the surface with fine-grit sandpaper (220-320 grit).
- You’re just creating a tiny “tooth” for the paint to adhere to, not stripping it.
- Wipe away any dust. This step boosts paint adhesion significantly for your DIY tumbler.
Prime for Success
- Apply a thin, even coat of primer. This creates a consistent base and improves paint adhesion.
- It also helps your chosen paint look more vibrant and stick better.
- Let the primer dry completely per product instructions. This sets the stage for a fantastic custom design and ensures your efforts on how to paint a tumbler will last.
Unleashing Your Creativity: Step-by-Step Techniques on How to Paint a Tumbler
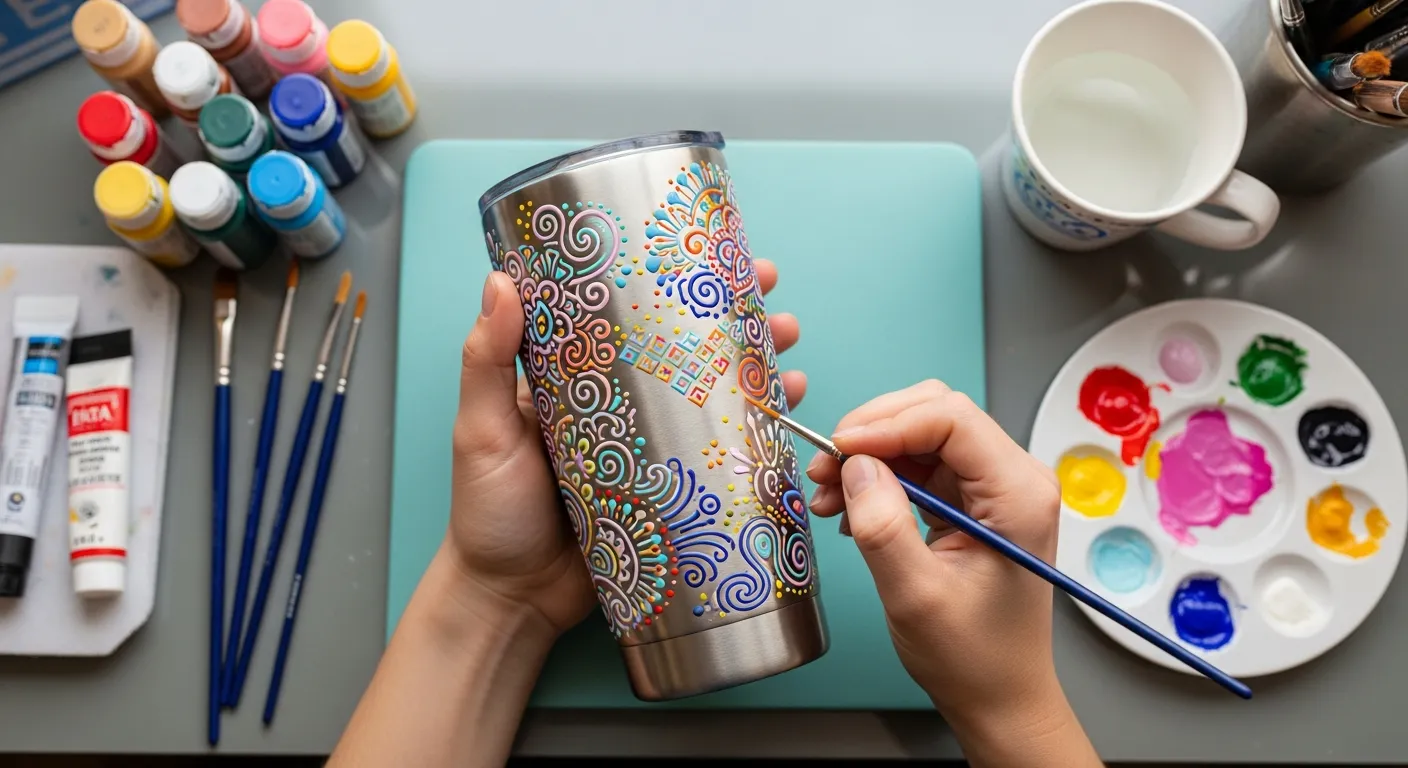
Now for the fun part! Your tumbler is prepped, and it’s time to bring your vision to life. This is where you really get to explore how to paint a tumbler and make it uniquely yours. The key here is patience and thin coats.
First, decide on your technique. Are you going for a solid color, intricate patterns, or a freehand design?
- Apply Thin Coats: Whether you’re using spray paint or brush-on acrylics, always apply thin, even layers. Multiple thin coats build up color better and prevent drips.
- Dry Time is Crucial: Allow each layer to dry completely according to the paint manufacturer’s instructions before adding the next. This prevents smudging and helps with adhesion.
- Tape & Stencils: For crisp lines and intricate patterns, painter’s tape is your best friend. Apply it firmly, paint, and remove it *before* the paint fully dries for sharp edges. Stencils are also fantastic for adding specific designs.
- Freehand Fun: If you’re feeling artistic, grab small brushes and let your creativity flow! This is your chance to truly customize tumbler with your unique style. Remember, even simple dots or lines can make a big impact.
Don’t be afraid to mix techniques or experiment with different colors. The goal is to enjoy the process of your DIY tumbler paint project and create something you love!
The Secret to Durability: How to Properly Seal Your Painted Tumbler
You’ve poured your heart into your DIY tumbler paint project. Proper sealing is the secret to making that beauty last! This critical step protects your artwork, making your custom tumbler durable.
Sealing acts as a strong, clear shield for your tumbler. It locks in your paint, safeguarding it from scratches, water, and daily wear. It’s essential if you want your how to paint a tumbler masterpiece to endure.
You have sealant options. Clear spray sealants are often easiest for an even finish; pick waterproof, non-yellowing types. For maximum durability, especially with certain best paint for tumblers, a brush-on epoxy or robust clear coat works well. Check compatibility with your tumbler material.
Application tips:
- Ensure tumbler is completely dry and dust-free.
- Apply multiple thin, even coats; let each dry fully.
- Work in a well-ventilated area.
- Follow manufacturer’s *cure time*. This ensures maximum hardness and protection, completing your seal painted tumbler.
Long-Lasting Beauty: Expert Tips for Caring and Troubleshooting Your Custom Tumbler
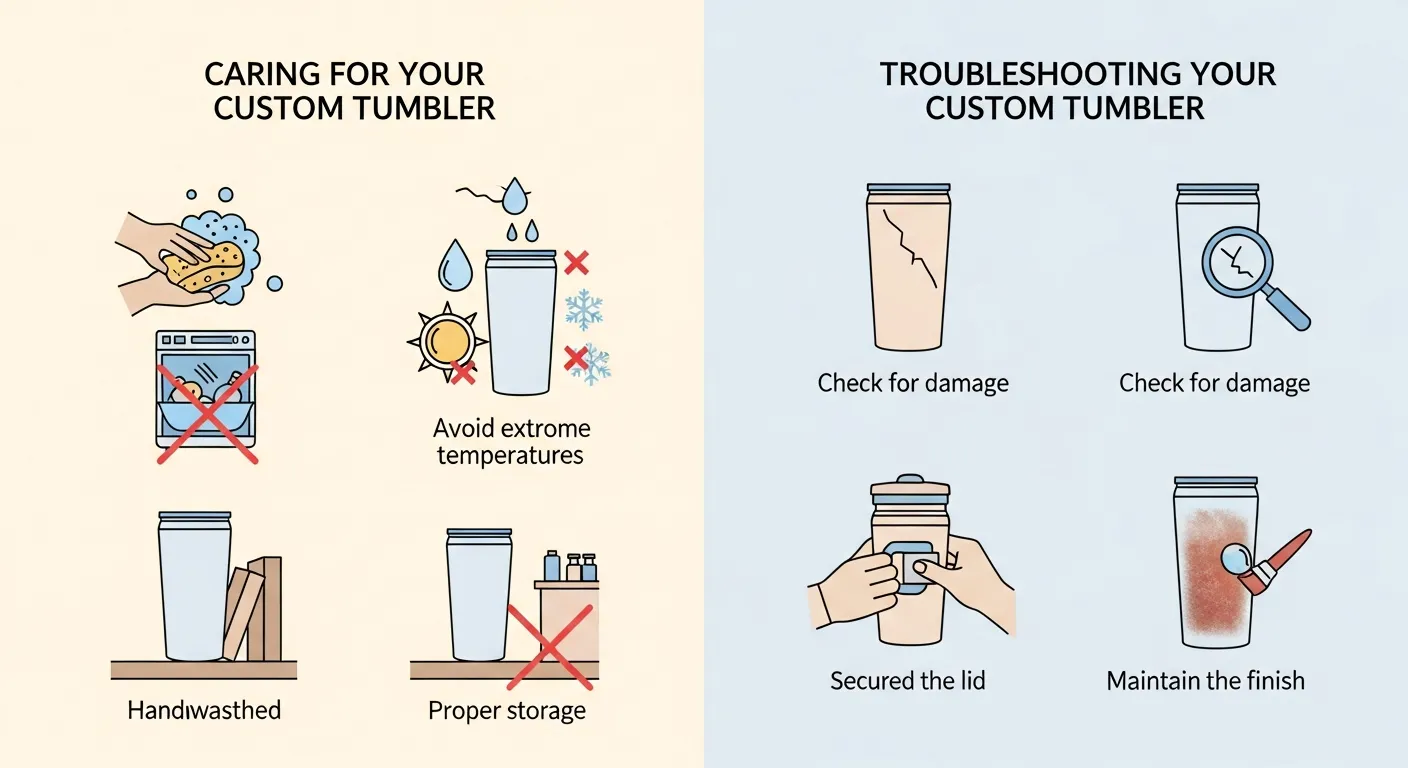
So, you’ve learned how to paint a tumbler and sealed your masterpiece. Now, let’s keep that stunning artwork vibrant for years! Proper care is crucial for your custom creation’s longevity.
Caring for your hand-painted tumbler is straightforward. Always opt for gentle handwashing with mild soap. Harsh scrubbers, abrasive sponges, and dishwashers are definite no-nos; they damage your beautiful DIY tumbler paint.
Avoid letting your tumbler soak in water, and protect it from extreme temperatures. These simple habits extend the life of your design. Gentleness is key to maintaining its beauty.
What if paint peels? This often points to insufficient prepare tumbler for painting. A careful touch-up with your best paint for tumblers and re-sealing can revive it.
For a dull sealant finish, ensure thin, even coats and full cure time. Sometimes, another thin layer helps. With good care, your personalized artwork will truly stand the test of time.
Frequently Asked Questions
How do I make sure my beautiful painted design lasts through countless sips and washes?
The secret to a long-lasting painted tumbler lies in the preparation and the finishing! First, always thoroughly clean your tumbler and give it a light sanding with fine-grit sandpaper for better paint adhesion. Choose paints designed for multi-surface use, like acrylic enamel or specialty craft paints that bond well to slick surfaces. Most importantly, don’t skip the sealing step! A good, food-safe, clear topcoat (often a spray or brush-on polyurethane designed for crafts) applied in several thin, even layers, and allowed to fully cure according to the product’s instructions, will protect your artwork from wear and tear. Patience during curing is key!
Is my beautifully hand-painted tumbler now off-limits for the dishwasher?
While some modern sealants boast “top-rack dishwasher safe” claims, we generally recommend hand-washing your personalized tumbler. The high heat, harsh detergents, and powerful water jets inside a dishwasher can be incredibly tough on painted surfaces, even well-sealed ones, potentially leading to chipping, fading, or peeling over time. To preserve your artistic creation for as long as possible, a gentle hand-wash with mild soap and warm water is always the safest bet. Think of it as giving your art a little extra love!
Are all paints safe to use on a tumbler, especially around my mouth?
This is a super important question! You should always prioritize using non-toxic, food-safe paints and sealants when decorating a tumbler, especially for any areas that might come into contact with your mouth or beverages. Look for labels that explicitly state “non-toxic” or “food-safe” for both the paint and the topcoat. As an extra precaution, many crafters recommend avoiding painting the very rim of the tumbler itself and focusing your designs on the body. The final food-safe topcoat acts as a crucial barrier, encapsulating the paint and ensuring your tumbler remains safe for everyday use. For more detailed guidance on paint safety and certifications, you can consult authoritative sources like the U.S. Consumer Product Safety Commission or industry bodies like the Art & Creative Materials Institute.